|
Anemos Sanctum
|
Click to see the full image:
|
Click here to view
the map
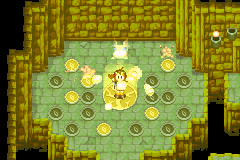
To reach Anemos Sanctum, you must have all 72 Djinn. That's 44 from The Lost Age, and 28 from the original Golden Sun. Only then will you be able to visit the legendary sanctum. If you do have all the Djinn, Teleport to Contigo. About in the middle of town, there is a Teleport circle. Use Teleport. In this new room, go to every corner of the room and light the circles: there is one for each Djinni. Once that is complete, the door to Anemos Sanctum will open.
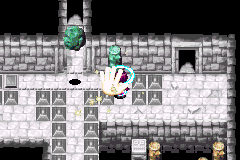
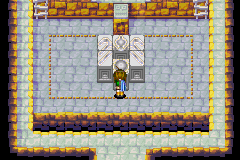
Hop across the floating plateforms and you will find a stone tablet. It will give you the power to summon Charon, the second to best summon in the game. Go through the door and in the next room, go down the staircase into Anemos Sanctum.
|
 |
|
Click here to view
the map of basement 1
In basement 1, go south a bit, then take the western fork. Follow the path to the next room. In this room, turn left, jump across the gap, and enter the door.
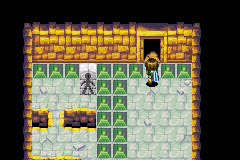
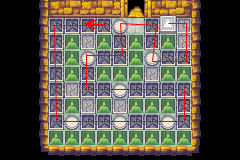
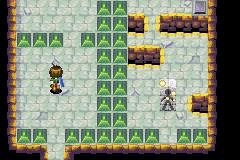
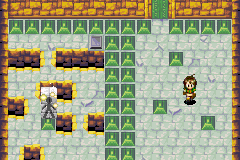
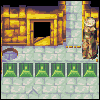
Here's a real fun part. The statue with the little guy on it follows a reflection of your every movement. Lead it around the gaps and place it on the switch. This switch will open the door. Don't forget: if the statue falls into a hole, you will have to start again.
In the next room, turn east and follow the path south, jumping across the gaps as you go. At the end of the path, you will see a pillar and a door. Push the pillar all the way to the east, and go through the door. Turn east and go through another door. This is an elevator room. Step on every black circle to turn it into a white circle: which will activate the elevator. Ride up it.
Click here to view
the map of floor 1
This will bring you up to the first floor. Go west and push the pillar all the way to the west end. follow the path to a staircase. Go down it, and go down another one leading you to basement 2.
|


|
|
Click here to view
the map of basement 2
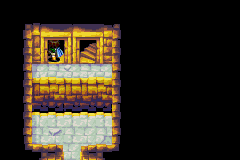
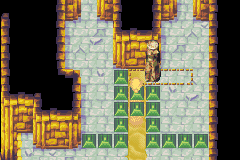
Follow the path and enter the first staircase you see. In this room is a treasure chest containing Dark Matter. Go back up the staircase. Follow the path to enter a cracked tile room. Follow the path shown on the screenshot to reach the elevator. Go north to exit the elevator room and return to basement 2, but on the other side of the green blocks this time.
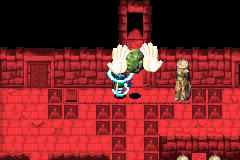
Go west to push the pillar all the way to the west. Turn east and follow the path to reach a door. Here, Lift the boulder, and go south down the path to the next room. Go west and follow the path to another mirror-man room. Only this time, it's much, much harder.
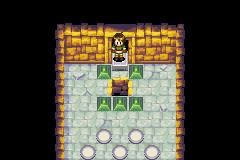
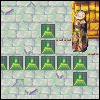
Walk up slowly until the mirror-man is south of the green block. Keep walking one square north, and watch as the mirror-man gets stuck behind the block. Turn right, go north, and turn left so that the mirror-man is now north of the green block. Now walk south until you are horizontally parallel with the green block. Go as far west as you can, then as far north as you can. Turn east until you can go north through the gap. Turn west to guide your statue onto the switch.
|


|
|
Go through the door. Jump across the gap north of you, and push the pillar east onto the circle. Now go back through the mirror-man room and through the other room until you are in the pillar room again, but on the other side this time. Go north and use Lift on the boulder. Go through the door, and walk through the next room. In the pillar room again, go south and jump across the gap to push the east pillar onto the other circle. Keep in mind you will need to use Move to place it onto the circle.
Now leave this room through the north door. Go around this room and you will return once again to the pillar room. Lift the boulder. Go south down the corridor and turn east to face the last pillar. Use Move to move it to the east, then push it once more. Hop north and Move the pillar. Push it west down the corridor and onto the switch to open the door. Go through the newly opened door and down the staircase to the next floor.
|


|
|
Click here to view
the map of basement 3
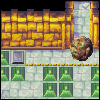
In basement 3, go counter clockwise around the staircase and turn west to enter the door. Welcome to your third mirror-man puzzle. Go north until your mirror-man is about to fall into the hole. Then turn right until your mirror-man is directly south of the green block. Go north until you are horizontally parallel with the second green block on Felix' side. Then turn right, go north a bit, and turn left, so that the mirror-man is north of the green block. Go south so that you are horizontally paralell with the second green block on Felix' side. You can now freely steer your mirror-man onto the switch.
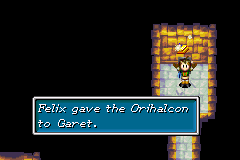
Go through the door, and enter the staircase right in front of you. Go through the corridor and grab the Orihalcon in the treasure chest. After getting it, go back up the staircase. Now turn east and go through the door.
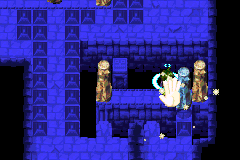
In this room, walk on the first cracked tile, then immediately turn left, then go up one and walk onto solid land to your left. Go clockwise along the corridor until you find a pillar. Push it using Move. Now follow along the corridor again, but turn south when you can. Walk along the cracked tiles you didn't already step on to reach the eastern side. Use Sand on the sand to go north, and press A to get out of it and push the pillar to set you free. Go north and turn west until you find a pillar, which you can push to reach the door.
|


|
|
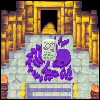
Here you must put the puzzle pieces together to form a spider. It's not hard, since the pieces and their puzzle spot are exactly the same: you just need to match them up. If you have any further difficulties, refer to the screenshot.
Climb up the ladder, go down the stairs and jump onto your spider. Prepare yourself for a very, very hard boss battle. Once you are ready, use Hover on the spot where there is the most Hover liquid.
Click here to view the full strategy
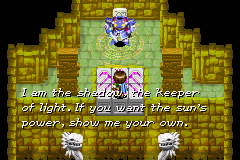
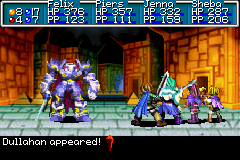
Battle :: This is without a doubt the hardest boss in the game. He is resistant against Mercury, and weak against Jupiter. He also has the power to summon Charon, but he doesn't steal it from you like the Valukar: this guy simply pops it in your face out of nowhere. He also has the power to put all your Djinn in recovery, as well as a whole bunch of very, very strong Psynergy moves. One of them in particular can kill you in one shot.
Dullahan attacks three times per turn, and heals 200 HP every turn. He is very tough, and don't give up the first times you fight him.
|


|
|
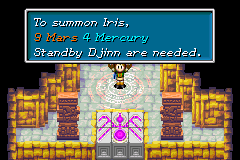
At the end of the battle you will be rewarded with the stone tablet for Iris, the ultimate summon in the game.
|

|
|
|
