|
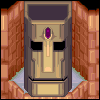
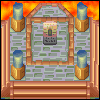
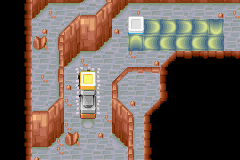
Magma Rock Interior
|
Click to see the full image:
|
Click here to view
the map of floor 4
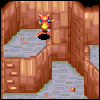
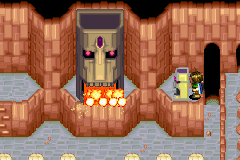
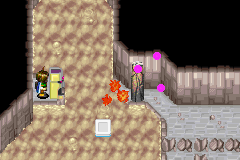
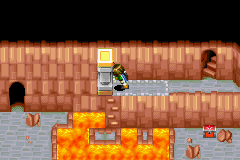
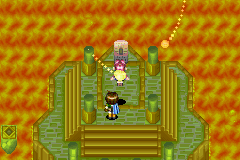
In the first screen, simply go north and enter the next screen. In this room, go north and enter the next room. In the next room, follow the corridor to make a U turn and turn back in the previous room. Here, jump across the gap and use Burst on the statue. This will make the big statue spill lava.
|
 |
|
Click here to view
the map of floor 4
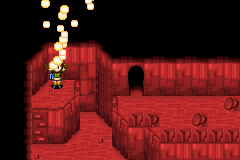
Jump back and go south pass a gate. If you did NOT transfer your data, you will
eventually see a Mars Djinni. If you transfered your data, this Djinni will not be here. Go back to where you made the room fill up with lava. Enter
the door.
Go north and you will see a floating white
platform. Jump onto it and jump to the opposite ledge. Follow
the corridor into the next room. Here go west, then south
then finally east. Enter the door in the south. Go south and
enter another door. You will find a Lucky Medal here.
Exit this room. In the next room, go east
then south passing the circle platform. You will see a switch
on the ground. Step on it and let the lava drain. Now go north
and climb down the ladder in the east. Go southeast and push
the white pillar onto the circle. Go northeast and enter the
door. In this room, simply go north passing the white block
and enter the door with a blue mark on it.
|

|
|
Click here to view
the map of floor 3
In level 3 interior, go south and climb down two sets of ladder. Go southwest and enter the next room. Here go south then west, passing the white block. Then enter the door to the north. In this room, go north then west. Push the white pillar all the way to the south. Now exit this room.
In the previous room, go south and enter the
next room. In this room, go south then all way to the west.
Climb up and fight the Djinni. This is just another easy battle:
just use level 4 summons.
Go back east and north and exit this room.
In this room, go northeast then north and exit this room.
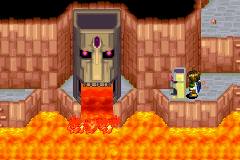
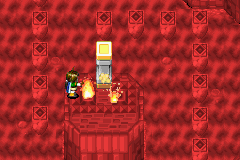
Here, go north and climb back up a ladder. Use Burst
on the statue. The floor will then be filled with lava. Go east
and follow the ledge until you see a switch on the opposite
side.
|
|
|
Jump over the gap but don't step on the switch.
Go around it and cross the gate. Go west and cross the rope.
Continue west and enter the next room.
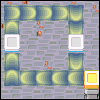
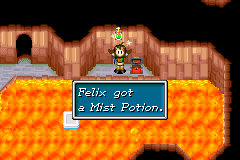
In this room, jump onto the white floating
block and let it brings you east. Jump north onto the ledge
with treasure chest and take the Mist Potion. Jump back to the
original ledge. Go south and jump across the yellow platform.
Go south and enter the next room.
Here, go to the east end and wait for the
white floating platform. Use it to get to the eastern ledge.
Go east and enter the next room. In this room, go north. Walk
into the group of rocks and stand on the western edge. Jump
onto the white floating platform. Jump north to the statue
and use Burst on it. Jump back onto the white platform and
this time go to the eastern ledge. Go east and use Burst on
the pillar.
Jump onto the eastern white platform to reach the eastern
ledge. Go north and exit this room. Here, go north a little
and jump across the gap. Step on the switch to drain the
lava. Jump back to the eastern ledge. Go north and climb down
the ladder. Go south and exit this room. Here, go south a
little and climb the ladder to the east. Climb down another
ladder to your right. Go southeast and enter the staircase with
blue mark on top.
|
|
|
Click here to view
the map of floor 2
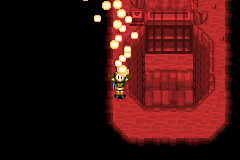
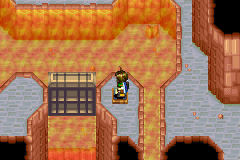
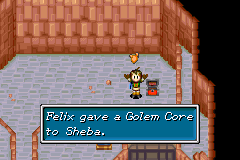
In level 2 interior, climb down the first ladder you see. Go south and enter the door. Here, enter the door to your left. In this room, go north and enter the door. Here, go north and jump across the gap. Go west and use Burst on the statue. You will fill up the floor with lava.
Head back east and jump onto the white platforms.
Jump across all of them to reach the western ledge. Go south into
the next room. Here continue heading south into another room.
In this room, step on the switch to drain the lava.
Exit this room. Here go north a little then
turn east. Use Whirlwind on the chain and swing across the
gap. Continue east until you can climb down. Go west and enter
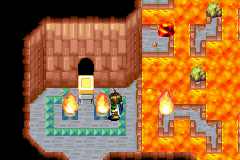
the tall door.
|

|
|
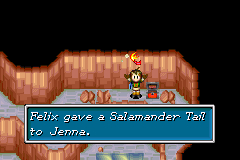
Here, go east and pass through the white block. Climb up the ladder. Take the Salamander Tail in the treasure chest. Climb back down and head west. Enter the northern door.
Here, go north and you will see three white
pillars. Push all of them as far east as possible. Go northeast and enter
the door.
Here, go northeast and grab the treasure.
Go back southwest and exit the room. Back in the previous
room, go south along the eastern ledge and enter the next room.
Here push away the pillar and climb the ladder. Go north and
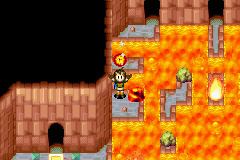
enter the door. Go north and jump across the gap and go west.
Once again fill the room with lava.
|
|
|
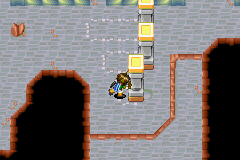
Go east and jump across three sets of white
platforms. Jump south across the yellow platforms. Go south
to the next room. Here go east and jump across the platform
to the eastern ledge. Go south to the next room. Here go west
then south to the next room. In this room, go east and jump
across two white platforms to the eastern ledge. Go east to
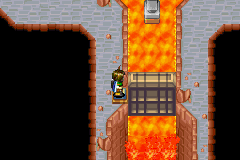
the next room. Here go north and push the pillar into the
lava.
Walk onto the pillar and go northwest and
enter the door. Go north to the next room. Go north and jump
across the gap and enter the door. Here, go north a little
and jump across to the east. Step on the switch to drain the
lava. Now go all the way back to where you pushed the pillar
into the lava. On the pillar, jump to the west and climb down
the ladder. Enter the staircase with a blue marking on top.
|

|
|
Click here to view
the map of floor 1
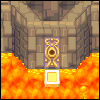
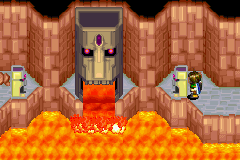
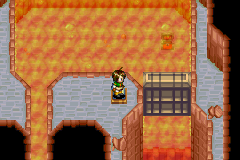
In level 1, push the pillar down into the
lava. Climb down the ladder. You can fight a mimic to the
east. If not, go west and enter the door.
Here, you will see some green blocks on the
ground and a pillar. Ignore them for now and jump east. Once you start
walking, the lava will shoot up some fire, some green rocks and
a burning rock. Jump counter clockwise until you reach the
northern platform. Go north and enter the next room.
In this room, go north until you see some
yellow platforms leading to a golden door. Jump across them
and enter the door.
|
|
|
Click here to view
the map of the sanctum
Click here to view the map of floor
1
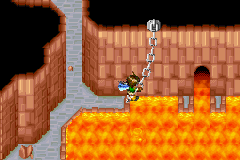
Jump to the north. The layout is familiar, as it's more or less the same in any other elemental rock. Grab the tablet, and Jenna will come up and learn the Psynergy Blaze. Afterward, go west and jump across the platforms.
You will reach a place with fire and a pillar.
Stand west of the fire and use Blaze. Another torch will
light up. The pillar will sink. Jump across all platforms to
exit this room. Go south and all the way back to the previous
room. Here, jump clockwise across the platforms and when you
on the final one, use Blaze to blow the fire towards
the green area.
|
|
|
Click here to view
the map of floor 1
Afterwards, walk east and south and jump to the west twice. Go to the right of the fire and use Blaze to light another torch. Enter the newly revealed door. Simply go around the path and you will be back in the same room. Go south to the burning rock.
Examinate the rock. Say Yes when a question pops up. You will take a Magma Ball from the rock and the rock will cool down. Exit using Retreat. Exit the cave and use Retreat one more time to leave the mountain.
|
|
|
|